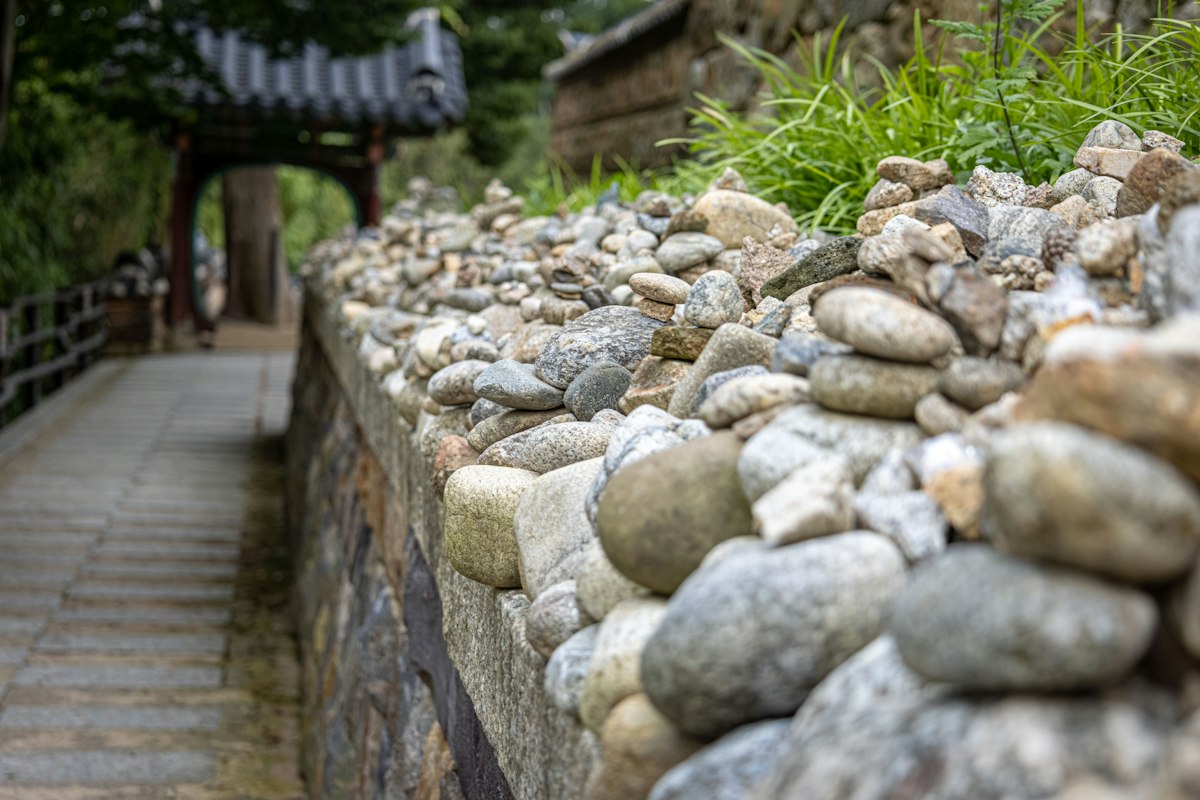
Mastering Natural Stone Retaining Wall Construction: Professional Techniques and Practical Tips
A sloping landscape often presents a dilemma for homeowners and builders alike. You look at an uneven yard and see wasted space, potential erosion, and a lack of usable area for gardening or entertaining. Natural stone retaining walls offer a solution that balances rugged durability with an organic aesthetic that concrete blocks simply cannot replicate. Building these structures requires more than just stacking heavy rocks; it demands an understanding of physics, soil mechanics, and the art of masonry.
This discussion explores the specific methods used to create stable, long-lasting stone barriers. We will cover everything from the initial site preparation and stone selection to the nuanced techniques of dry stacking and mortared construction. Whether you are planning a DIY project or overseeing a professional crew, knowing the technical requirements ensures the wall survives the relentless pressure of earth and water over the coming decades.
Related posts

Beautiful Decorative Stamped Asphalt Driveway Design Options
Homeowners looking to upgrade their driveway often feel stuck between two difficult extremes. Standard blacktop asphalt looks functional...
Read more →
Heavy Duty Driveway Drainage: Mastering Trench Drain Installation for High-Traffic Zones
Torrential rains combined with heavy vehicle traffic can quickly turn a standard residential driveway into a failing structural...
Read more →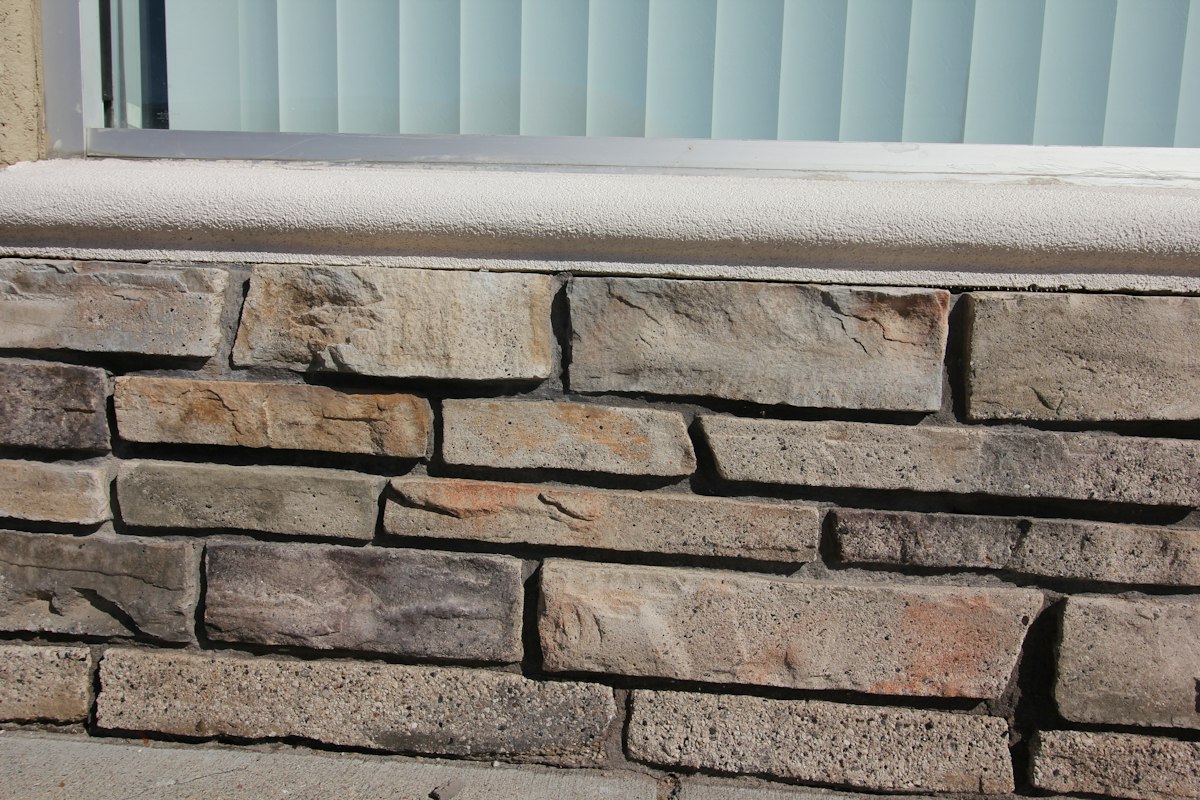
A Look At Stone Masonry Exterior Foundation Facing Panels
That strip of exposed concrete at the base of your home often acts as a visual anchor, but...
Read more →
Timing Your Commercial Brick Repointing and Mortar Restoration Project
Most commercial property owners overlook the mortar between their bricks until a chunk of masonry falls onto a...
Read more →Why choose natural stone over cheaper alternatives? Beyond the obvious visual appeal, natural stone is incredibly resilient to freeze-thaw cycles and does not degrade like pressure-treated timber. It is a permanent addition to a property that, when built correctly, actually increases in value as it weathers. We will break down the essential steps to ensure your wall remains upright and beautiful, avoiding the common pitfalls of poor drainage and shallow foundations.
Key takeaways
- Foundation integrity: A wall is only as stable as the trench it sits in; deep, compacted gravel bases are non-negotiable.
- Drainage is mandatory: Hydrostatic pressure is the primary cause of wall failure, making perforated pipes and clean gravel backfill mandatory.
- The 1-over-2 rule: Always bridge the joints of the stones below to ensure structural bonding and weight distribution.
- Batter for stability: Sloping the wall slightly back toward the hill (batter) significantly increases its resistance to soil pressure.
Selecting the Right Stone for Your Project
Before moving any dirt, you must decide on the type of stone that fits both your budget and your skill level. Fieldstone is often gathered from the surface of the ground and offers a rounded, rustic look. While it is often more affordable, the irregular shapes make it the most difficult to stack securely. You will spend significant time spinning and flipping stones to find a stable fit.
Flagstone or Ledgestone consists of flat, thin slabs that are much easier to layer. These are ideal for a "stacked" look and provide excellent contact surface area, which translates to better friction and stability. If you prefer a more formal appearance, Ashlar stone is pre-cut into rectangular shapes. This material is the most expensive but allows for faster installation because the uniform edges fit together like a puzzle.
Foundation and Site Preparation
The most common mistake in stone wall construction is starting on top of the grass. You must excavate a trench that is at least 12 to 18 inches deep, depending on the height of the wall and the local frost line. The width of the trench should be roughly half the height of the wall to provide a wide, stable footprint. Fill this trench with 6 inches of crushed angular gravel (not rounded pea gravel) and compact it thoroughly with a plate compactor.
The first layer of stone, known as the base course, should be the largest and heaviest stones in your pile. These stones should be buried entirely or mostly underground. This "keying in" of the wall prevents the bottom from kicking out under the weight of the soil behind it. Level each base stone carefully; if the foundation is off-kilter, every subsequent layer will exaggerate that error.
Dry Stack vs. Mortared Construction
You have two primary paths: dry stack or wet-laid (mortared). Dry stacking relies on gravity and friction. It is often preferred because the wall remains flexible. If the ground shifts slightly during a freeze, a dry stack wall can move and settle without cracking. Furthermore, dry stack walls naturally allow water to seep through the gaps, reducing pressure buildup. However, these walls are generally limited to a height of 3 feet unless engineered otherwise.
Mortared walls use a concrete footing and mortar joints to bond stones together. This creates a rigid, monolithic structure that can be built much higher and thinner. The downside is that any movement in the earth will cause visible cracks in the mortar. Additionally, you must be extremely diligent with weep holes—small gaps left in the mortar—to allow trapped water to escape from behind the wall.
The Technical Art of Stacking
As you build upward, follow the "one-over-two" rule. This means the center of a stone should sit over the joint where two stones meet in the layer below. This breaks up vertical seams, which are weak points. If you have a continuous vertical line (a "running joint"), the wall is likely to split at that point when the soil expands.
Another professional secret is the use of deadmen or "headers." These are long stones that are placed perpendicular to the wall face, extending deep into the hillside. They act as anchors, tying the wall into the earth it is retaining. For every 10 square feet of wall face, try to include at least one header stone to provide mechanical reinforcement.
Managing Water and Hydrostatic Pressure
Water is the enemy of any retaining structure. When soil becomes saturated, it becomes significantly heavier and exerts immense pressure. To combat this, never backfill the space directly behind the stones with dirt. Instead, use 12 inches of clean, 3/4-inch crushed stone. This creates a high-permeability zone that allows water to drop straight to the bottom of the wall.
At the base of this gravel chimney, install a 4-inch perforated drain pipe (French drain) sloped to an exit point at either end of the wall. To prevent the gravel from becoming clogged with silt and soil over time, wrap the gravel and the pipe in non-woven geotextile filter fabric. This simple addition can double the lifespan of your wall by keeping the drainage path clear.
Cost Factors and Practical Considerations
Natural stone projects are labor-intensive, which is reflected in the price. If you hire a professional, expect to pay between $25 and $75 per square foot, depending on the stone type and site accessibility. DIYers can save on labor but must factor in delivery fees for tons of stone and the rental of heavy equipment like a skid-steer or a plate compactor. Always check local building codes; many municipalities require a structural engineer's seal for any wall exceeding 3 or 4 feet in height.
FAQ
How long does a natural stone retaining wall last?
When constructed with proper drainage and a solid foundation, a dry stack stone wall can last 50 to 100 years or more. Mortared walls also have a long lifespan but may require tuck-pointing (repairing mortar joints) every 15 to 20 years as the structure settles.
Can I build a stone wall on a slope?
Yes, but you must "step" the foundation. Instead of a continuous slope, the trench should be dug in a series of level horizontal steps. This ensures each section of the wall sits on a flat base, preventing the stones from sliding downhill over time.
Do I need a concrete footing for a dry stack wall?
No, a concrete footing is actually detrimental to a dry stack wall. A flexible base of compacted gravel is preferred because it allows the wall to move with the natural expansion and contraction of the soil without structural failure.
What is the best way to cut natural stone?
For minor shaping, a brick hammer and a stone chisel are sufficient. For larger projects or thicker stones, a circular saw with a diamond blade or a gas-powered cut-off saw will save hours of manual labor. Always wear eye protection and a respirator when cutting stone.
How do I prevent weeds from growing in a dry stack wall?
While some people enjoy the look of moss or small ferns in the gaps, you can prevent unwanted weeds by using a landscape fabric behind the stones and filling the larger gaps with smaller stone chips (spalls) rather than soil.
Conclusion
Building a natural stone retaining wall is a rewarding endeavor that blends heavy labor with creative problem-solving. By prioritizing a deep gravel foundation, consistent batter, and a robust drainage system, you create a structure that is as functional as it is beautiful. While the process is physically demanding, the result is a permanent landmark in your landscape that will stand the test of time and weather. Focus on the hidden details—the gravel, the pipe, and the base course—and the visible stones will take care of themselves.