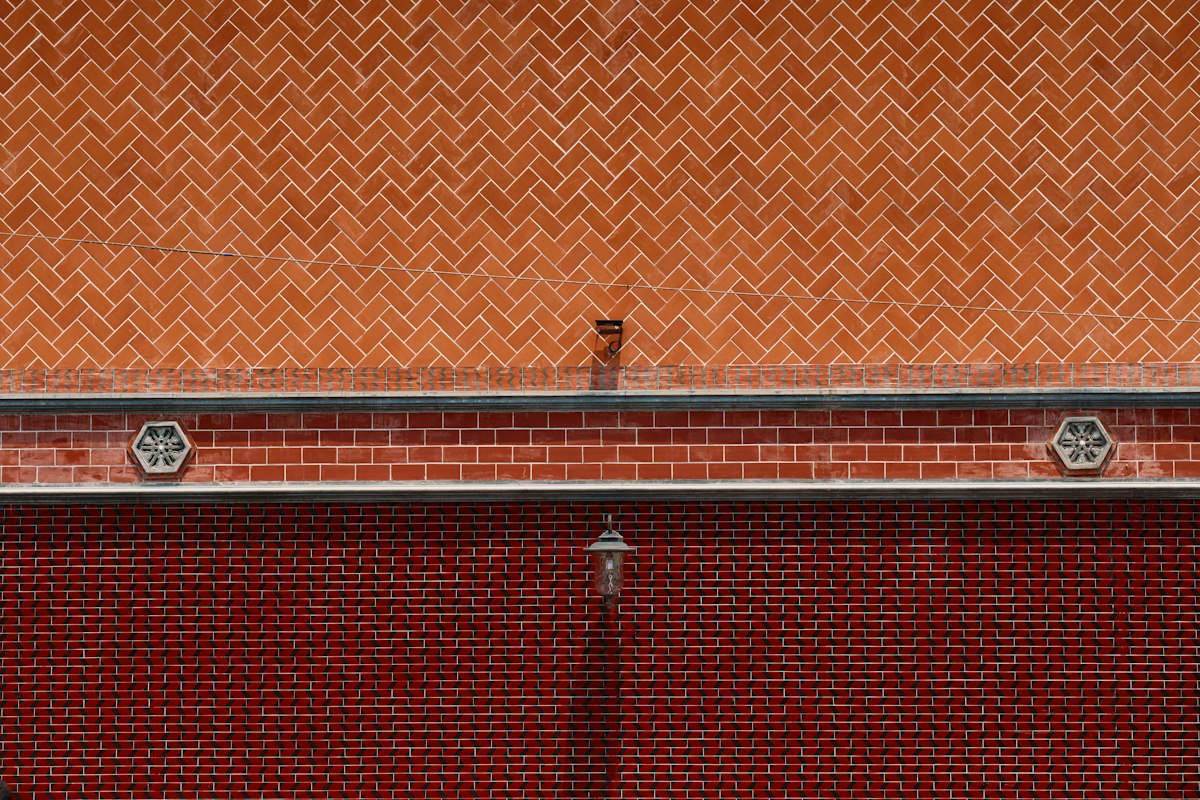
Mastering Exterior Exposed Brick Sealing for Long-Term Protection
Exposed brick masonry offers a timeless aesthetic that many homeowners and commercial property managers prize for its character and durability. However, the very texture and porosity that make brick visually appealing also make it vulnerable to environmental degradation. Without a proper barrier, water infiltration can lead to a host of structural and cosmetic issues that are expensive to remediate. Whether you are dealing with a historic facade or a modern accent wall, understanding how to protect these surfaces is the first step in preserving your property's value.
The primary enemy of any masonry structure is moisture. When water penetrates the porous surface of a brick, it doesn't just sit there; it travels through the capillary network of the material. In colder climates, this leads to the destructive freeze-thaw cycle, where expanding ice creates internal pressure that causes the brick face to flake or pop off—a process known as spalling. Even in warmer regions, excessive moisture encourages the growth of mold, mildew, and the unsightly white powdery substance known as efflorescence. This article explores the professional methods for selecting and applying the right protective treatments to ensure your masonry remains resilient for decades.
Related posts
Selecting Commercial Grade Exterior Coatings for Coastal Properties
Coastal commercial buildings face some of the most punishing environmental conditions on earth. The combination of high-intensity ultraviolet...
Read more →
Honest Thermal Insulating Exterior Wall Paint Reviews: Do They Actually Lower Your Energy Bills?
You have likely seen the advertisements: a special space-age paint that promises to slash your cooling costs by...
Read more →
Stain Vs Paint For Exterior Cedar Siding: Which Option Protects Your Home Best?
Deciding between stain and paint for your exterior cedar siding is more than a simple aesthetic choice. Cedar...
Read more →
Maximizing Your Licensed Residential Exterior Painters Free Consultation
Deciding to refresh your home's exterior is a significant investment that impacts both curb appeal and long-term structural...
Read more →Many people make the mistake of rushing into a sealing project without considering the specific needs of their brick type or the local climate. Using the wrong product can actually do more harm than good, effectively trapping moisture inside the wall and accelerating decay from the inside out. We will cover the technical differences between various sealing agents, the essential steps for surface preparation, and the application techniques that separate a professional-grade finish from a failed DIY attempt. By the end of this discussion, you will have a clear roadmap for protecting your exterior brickwork correctly.
Investing in high-quality masonry protection is a proactive financial decision. While the upfront cost of premium sealers and proper cleaning equipment might seem significant, it pales in comparison to the thousands of dollars required for professional repointing or structural brick replacement. Protecting your exterior isn't just about curb appeal; it is about maintaining the integrity of the building envelope and preventing secondary issues like interior dampness or structural wood rot in the framing behind the masonry.
Key takeaways
- Always prioritize breathability: Use penetrating silane-siloxane sealers rather than film-forming acrylics to allow water vapor to escape the masonry.
- Preparation is 90% of the job: Surfaces must be clean, structurally sound, and completely dry for at least 24 to 48 hours before any sealer is applied.
- Test before full application: Always perform a patch test in an inconspicuous area to check for color changes or adverse reactions.
- Timing matters: Apply sealers during mild weather conditions, avoiding direct midday sun or high-wind days that can cause the product to evaporate too quickly.
The Science of Choosing the Right Sealer
When you walk into a hardware store, the variety of "waterproofers" can be overwhelming. For exterior exposed brick, you generally have two choices: film-forming sealers and penetrating sealers. Professionals almost exclusively recommend penetrating sealers for exterior masonry. These products, typically based on silanes or siloxanes, penetrate deep into the brick's pores and chemically bond with the substrate. They create a hydrophobic barrier that repels liquid water while remaining "breathable," meaning they allow water vapor to exit the wall.
Film-forming sealers, such as acrylics or urethanes, create a layer on top of the brick. While these can provide a "wet look" or high-gloss finish, they are often a recipe for disaster on exterior walls. Because they create a non-porous plastic sheet over the brick, any moisture that enters the wall from the ground or through small cracks in the mortar becomes trapped. When that moisture tries to evaporate, it hits the underside of the sealer, causes it to peel, and eventually forces the face of the brick to break away. For long-term health, stick to silane-siloxane blends that maintain the natural appearance of the brick.
Silane vs. Siloxane: What is the difference?
Silanes have smaller molecules and can penetrate deeper into dense masonry, making them excellent for high-performance protection. Siloxanes have larger molecules and are better for more porous materials. Most modern, high-end masonry sealers are a blend of both, offering the deep penetration of silane with the surface-level water shedding of siloxane. This combination provides the best of both worlds, ensuring the entire depth of the brick face is protected from wind-driven rain.
Essential Preparation and Cleaning
You cannot seal a dirty surface. If you apply a sealer over dirt, soot, or biological growth, you are essentially laminating that debris onto your home. Start by inspecting the masonry for any structural issues. If the mortar joints are crumbling or missing, you must perform repointing before sealing. Sealer is not a substitute for mortar; it is a final protective layer. If you seal over failing mortar, water will still find its way into the gaps, rendering the sealer useless.
Cleaning should be done with a specialized masonry cleaner or a mild detergent. While pressure washing is effective, you must use a low-pressure setting (usually under 1,000 PSI) and a wide fan tip. High pressure can etch the brick and destroy the protective fire-skin on the exterior of the masonry. If you see white salt deposits (efflorescence), use an efflorescence remover—typically a mild acid solution—to neutralize and wash away the salts. Ensure the brick is thoroughly rinsed and allowed to dry completely. A common mistake is sealing damp brick, which leads to a cloudy, white haze trapped under or within the sealer.
The Proper Application Process
Once the brick is clean and dry, it is time for application. The most efficient way to apply a penetrating sealer is with a low-pressure pump sprayer. You want to start at the top of the wall and work your way down, allowing the sealer to run down about 6 to 8 inches below the point of application. This is known as the "flood coat" method. It ensures that the brick absorbs as much material as it can handle.
Work in manageable sections, roughly 10 feet wide at a time. If the brick is particularly porous, you may need a second coat. Most professionals use a "wet-on-wet" technique, meaning the second coat is applied while the first coat is still damp but has had about 10 to 15 minutes to soak in. This ensures maximum saturation. Avoid over-applying to the point where the product puddles or drips excessively, as this can leave visible streaks once dry. If you are working near windows or landscaping, be sure to mask them off, as siloxane sealers can be difficult to remove from glass and can harm certain plant species.
Maintenance and Long-Term Expectations
How long does a proper seal last? Generally, a high-quality silane-siloxane sealer will provide protection for 5 to 10 years, depending on the exposure to sun and rain. Horizontal surfaces like chimney caps or brick walkways will require more frequent attention than vertical walls. You can test the effectiveness of your sealer by splashing water onto the brick. If the water beads up and rolls off, the sealer is still active. If the brick darkens and absorbs the water, it is time for a maintenance coat.
The cost of sealing varies based on the quality of the product. Professional-grade sealers can cost between $40 and $80 per gallon, with one gallon typically covering 100 to 200 square feet depending on porosity. While generic water sealers are cheaper, they often lack the solids content necessary for multi-year protection. When you factor in the labor of cleaning and preparation, it is always more cost-effective to use a premium product that lasts twice as long.
Frequently Asked Questions
Can I seal brick that has already been painted?
No, penetrating sealers work by soaking into the pores of the masonry. If the brick is painted, the pores are already blocked. Sealing over paint will do nothing but create a sticky mess. If you want to protect a painted brick wall, you should instead focus on maintaining a high-quality, breathable masonry paint or mineral-based silicate paint designed for brick.
Will sealing my brick make it look shiny or wet?
If you use a penetrating silane-siloxane sealer, the appearance of the brick will remain virtually unchanged. These products do not form a surface film, so they do not add gloss. If you desire a "wet look," you would need a film-forming acrylic sealer, but as discussed, these are generally not recommended for exterior vertical brick due to breathability concerns.
Is it necessary to seal brand-new brick masonry?
It is often recommended to wait at least 28 days, and sometimes up to a full season, before sealing new brick. This allows the mortar to fully cure and any initial efflorescence to work its way out of the material. Sealing too early can trap moisture from the construction process, leading to issues shortly after the project is completed.
Can I apply the sealer with a roller or brush instead of a sprayer?
Yes, you can use a long-nap roller or a large masonry brush, especially for smaller areas or detailed work. However, a sprayer is much better at getting the sealer into the deep recesses of the mortar joints and the textured surface of the brick. If you do use a roller, be careful not to create foam or bubbles, which can dry into the finish.
Conclusion
Sealing exterior exposed brick masonry is an essential maintenance task that protects the structural integrity and beauty of a building. By choosing a high-quality penetrating sealer over a film-forming alternative, you ensure that your walls can breathe while remaining impervious to liquid water. The success of the project hinges on meticulous preparation—cleaning the surface, repairing mortar, and ensuring the brick is bone-dry before application. While it requires a significant investment of time and attention to detail, the result is a resilient exterior that can withstand the harshest weather conditions. Take the time to do it properly, and your brickwork will remain a standout feature of your property for many years to come.