
Preparing Your Home for Paint: The Right Way to Pressure Wash and Prep Exterior Siding
A fresh coat of exterior paint can completely transform your home, boosting its curb appeal and protecting its structural integrity. However, the longevity of that beautiful new finish depends almost entirely on what lies beneath it. Many homeowners and amateur painters make the mistake of rushing straight to the brush and roller, only to watch their hard work peel, bubble, and crack within a year or two.
The secret to a flawless, long-lasting exterior paint job is thorough surface preparation. Over months and years, your home's exterior collects a thick layer of dust, pollen, chalky oxidation, mold, and mildew. Trying to paint over this accumulation is like trying to tape a dusty cardboard box; the adhesive simply will not stick. The paint will bond to the dirt rather than the siding, leading to premature failure.
Related posts
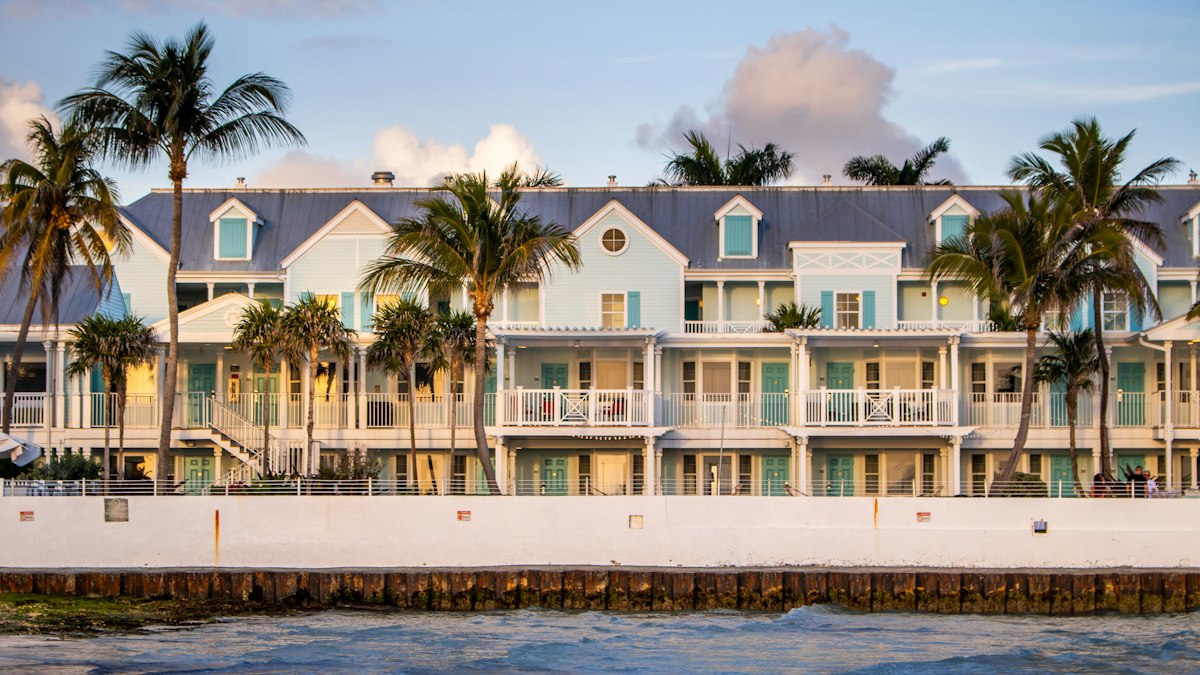
Selecting Commercial Grade Exterior Coatings for Coastal Properties
Coastal commercial buildings face some of the most punishing environmental conditions on earth. The combination of high-intensity ultraviolet...
Read more →
Honest Thermal Insulating Exterior Wall Paint Reviews: Do They Actually Lower Your Energy Bills?
You have likely seen the advertisements: a special space-age paint that promises to slash your cooling costs by...
Read more →
Stain Vs Paint For Exterior Cedar Siding: Which Option Protects Your Home Best?
Deciding between stain and paint for your exterior cedar siding is more than a simple aesthetic choice. Cedar...
Read more →
Maximizing Your Licensed Residential Exterior Painters Free Consultation
Deciding to refresh your home's exterior is a significant investment that impacts both curb appeal and long-term structural...
Read more →Pressure washing serves as the cornerstone of this preparation process. When done correctly, it strips away stubborn contaminants, breaks loose failing paint, and provides a clean canvas for the new primer and paint. But pressure washing is not just about pointing a high-pressure nozzle at your walls and blasting away. Incorrect techniques can force water deep behind your siding, ruin wood trim, and create costly water damage.
This discussion breaks down how to safely pressure wash your home, execute the necessary post-wash prep steps, and manage the timing to ensure your exterior paint adheres perfectly and lasts for years to come.
Key takeaways
- Clean surfaces are mandatory: Paint must bond directly to the siding material, meaning all mold, mildew, dirt, and chalky residue must be completely removed.
- Manage your pressure: Keep PSI levels low (typically between 1,200 and 2,000 PSI) to protect wood, vinyl, and stucco from physical damage.
- Allow ample drying time: Siding must dry completely—typically requiring 24 to 48 hours of dry weather—before applying any primer or paint.
- Follow the correct sequence: Always wash the house first to clean the surface and loosen failing paint, then scrape, sand, and patch once the surface dries.
The Science of Paint Adhesion: Why Washing Is Mandatory
To understand why washing is so important, it helps to look at how modern exterior paints work. Quality paints rely on binders to adhere to the substrate. If the substrate is covered in a fine layer of chalky powder—a common byproduct of UV degradation on old paint—the new paint binds to that powder. As soon as the temperature fluctuates, the paint pulls away, causing unsightly blistering.
Mold and mildew present another serious hazard. If you paint over active fungal spores, they will continue to feed on moisture underneath the new paint film. Eventually, the mold will break through the new layer, ruining the finish and rot-proofing of your siding. Pressure washing with a dedicated mildewcide kills these organisms at the root, ensuring a sterile surface for your new coating.
Step-by-Step Exterior Prep Sequence
Achieving a professional-grade paint finish requires a logical, step-by-step workflow. Jumping ahead or skipping steps will compromise the entire project. Here is how to structure your preparation work for the best possible results.
1. Protect Your Landscaping and Fixtures
Before starting your pressure washer, take time to protect your surroundings. High-pressure water and cleaning chemicals can shred delicate leaves and kill grass. Cover nearby shrubs, flower beds, and ornamental plants with lightweight plastic sheeting or canvas drop cloths. Wet down your plants before and after washing to dilute any overspray from cleaning solutions. Additionally, tape plastic over exterior electrical outlets, light fixtures, and security cameras to prevent water intrusion.
2. Choose the Right Equipment and Cleaners
Using the wrong pressure washer or nozzle can quickly gouge soft wood siding or shatter older vinyl panels. For most residential siding, a pressure washer rated between 1,200 and 2,000 PSI is sufficient. Use a wide-angle spray tip—typically a 25-degree (green) or 40-degree (white) nozzle. Never use the 0-degree (red) pinpoint nozzle, as it acts like a laser and will easily damage your home.
Water alone is rarely enough to cut through grease, mold, and heavy oxidation. Use a specialized house wash or a solution of Trisodium Phosphate (TSP) mixed with water. For homes with noticeable green or black mold, incorporate an outdoor bleach alternative or a dedicated mildewcide to sanitize the surface.
3. Master the Washing Technique
Always wash from the top down. This prevents dirty water and residue from running down over areas you have already cleaned. Hold the spray wand at a consistent distance of 12 to 18 inches from the siding. Keep the nozzle moving in steady, sweeping horizontal strokes along the length of the siding boards.
Avoid spraying upward at a sharp angle. Spraying upward can force water underneath the laps of vinyl or wood siding, soaking the building wrap and insulation behind it. Keep the spray angled slightly downward or perpendicular to the wall surface.
4. Scrape, Sand, and Patch After Drying
Once the house is clean and dry, you can address physical surface defects. It is a common mistake to scrape paint before washing. Washing first is far more efficient because the high-pressure water will naturally strip away the loosely adhered paint flakes, saving you hours of manual labor. After the wash, use a sharp hand scraper to remove any remaining loose or peeling paint. Sand the edges of the remaining paint smooth to prevent visible ridges beneath the new coat. Fill any holes, gouges, or rotted wood sections with a high-quality exterior wood filler or patching compound, then sand it flush once cured.
The Critical Drying Window: How Long to Wait Before Painting?
One of the most common mistakes in exterior painting is applying paint too soon after washing. Wood is highly porous and absorbs water during the washing process. If you apply paint over damp wood, you trap that moisture inside. When the sun heats the siding, the trapped water vaporizes, expands, and forces its way out, creating large bubbles in your fresh paint.
As a general rule, allow wood siding to dry for at least 24 to 48 hours of warm, dry, and sunny weather before painting. If the weather is humid, overcast, or cool, you may need to wait three to four days. Fiber cement and vinyl siding dry much faster than wood, but they still require a minimum of 24 hours to ensure all joints, seams, and trim details are completely dry. To be absolutely certain, use a digital moisture meter. The moisture level of wood siding should be below 12% to 15% before you apply primer or paint.
DIY vs. Professional Preparation: Costs and Risks
Deciding whether to tackle this project yourself or hire a professional depends on your budget, comfort level with heights, and access to equipment. Renting a professional-grade pressure washer typically costs between $50 and $100 per day, plus the cost of cleaning detergents. If you choose to buy a light-duty electric pressure washer, expect to spend $150 to $300.
Hiring a professional service to pressure wash and prep your home generally costs between $300 and $800, depending on the size of your home and the complexity of the architecture. While DIY saves money, professionals bring experience in handling delicate surfaces, working safely on tall ladders, and selecting the exact chemical balances needed for different types of staining. If your home has multiple stories or intricate historical woodwork, hiring an experienced professional is often the safest and most efficient choice.
Frequently Asked Questions
Can you paint a house immediately after pressure washing?
No. Painting too soon is a primary cause of paint failure. You must allow the siding to dry completely, which usually takes 24 to 48 hours of dry, sunny weather. Painting over damp wood traps moisture, leading to blistering, peeling, and potential wood rot.
What is the best cleaning solution for washing a house before painting?
A mixture of Trisodium Phosphate (TSP) and water is highly effective for cutting through grease, dirt, and heavy chalking. If you have mold or mildew issues, use a specialized house wash containing a mildewcide or a diluted bleach solution to kill the fungal spores before painting.
Can pressure washing damage vinyl or wood siding?
Yes. If the pressure is too high or the nozzle is held too close, water can gouge wood, crack vinyl, or erode stucco. Always use a wide-angle nozzle (25 or 40 degrees) and keep the pressure under 2,000 PSI for residential siding to prevent physical damage.
Should you scrape paint before or after pressure washing?
You should always pressure wash before scraping. The washing process will naturally blast away the loosest flakes of paint. Once the siding dries, you can easily scrape and sand the remaining stubborn loose edges with much less physical effort.
Conclusion
Investing time and effort into pressure washing and prepping your home's exterior is the single best way to protect your investment. Skipping these steps might save a few hours upfront, but it will inevitably lead to premature peeling, mold growth, and a paint job that fails years before its time. By using the right pressure settings, allowing ample drying time, and following up with meticulous scraping and sanding, you guarantee a smooth, durable finish. Whether you choose to do it yourself or hire a professional, proper preparation ensures your home remains beautiful and protected from the elements for a decade or more.